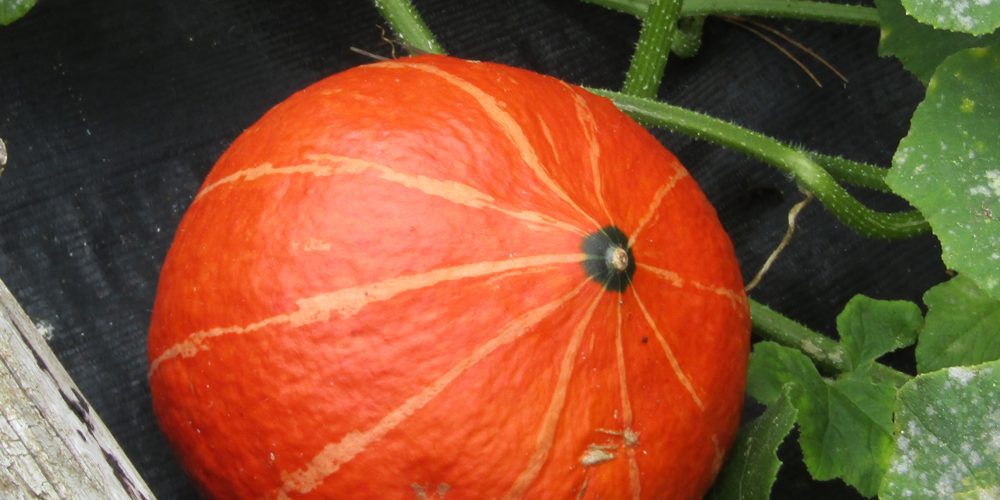
If you’re just starting out with a new plot, or if you’re trying to add some extra growing space this season, then we would highly recommend getting a pumpkin & squash patch on the go. It’s very easy, quick and a great way to clear weeds for future growing.
If you’re starting with an existing raised bed/plot, then jump to step 6 (or step 3 if it’s covered in weeds!)
Step 1 – Find a sheltered, sunny site
Step 2 – Mark out the area you wish to convert to growing space
Step 3 – Dig out any BIG weeds, like brambles or docks. Don’t worry about nettles and grass.
Step 4 – Cover the area with a layer of brown cardboard (tape/staples removed!) – the cardboard will prevent the weeds from continuing to grow, and will decompose into the soil by the end of the season.
Step 5 – Cover the cardboard with a 10cm layer of compost and/or well rotted manure
Step 6 – Cover the bed/plot with a sheet of weed control fabric (there are biodegradable options on the market, or you can choose to use black polythene but pull it up carefully at the end of the season, ready to re-use another time) – be sure to secure it well at the edges.
Step 7 – Cut 10cm holes in the weed fabric at 1m intervals, and plant your pumpkin/squash plants in the holes.
You’ll be able to water into the holes, and the polythene will prevent moisture from evaporating so your plants shouldn’t get thirsty. At the same time, the membrane will keep the soil warm giving your pumpkins a good growth boost. The plants will soon sprawl out and hide the membrane from sight, and when fruits form you can rest assured that they will not be touching the soil and therefore unlikely to rot before they have ripened.
As your pumpkin patch is growing, the weeds underneath will be starved of light and will die off. At the end of the season (or at the start of the next) you can remove the membrane to reveal a weed-free plot/bed.

