If you’d like to grow your own potatoes, this article guides you through everything you need to get going. It’s all very straightforward and they are fun to grow…
Chitting Seed Potatoes
- If your seed potatoes are delivered before Late March/April, it is best to chit them before planting out, especially earlies.
- To chit the seed potatoes, use an egg box. Put a single seed potato in each compartment and place (open) in a cool, light place avoiding direct sunlight. The chitted potatoes will become slightly wrinkled as they lose some of their moisture and will start to produce shoots which will give them a head start when you plant them.
- Meanwhile, it is a good idea to start warming the soil, by simply covering with black polythene.
- Aim to plant the potatoes out in late March or April once we’re clear of hard frosts.
Planting Seed Potatoes
- Choose a site with well dug soil that is moisture retentive in a nice open, sunny position.
- Potatoes need a bit of depth. You can grow them straight in the ground or in a raised bed, or in a deep planter. We’ve known people to grow their spuds in a stack of old tyres or even in an old wheelbarrow.
- If growing in the ground: Dig a trench approximately 15cm deep, and place your potatoes 30cm apart (1st earlies) or 40cm apart (2nd earlies/maincrop) along the trench and then cover with soil. You want to cover with enough soil that you create a ridge of soil above the surface.
- If growing in containers: choose one that’s approx 50cm deep and wide. Half fill the container with multi-purpose compost or good quality, fertile garden soil. Place 5 seed potatoes on top of the compost and cover with another 10-20cm of compost making sure the potatoes are totally covered.
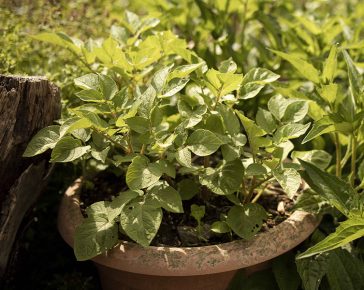
Growing Tips:
- As the leaves appear, earth up the plants by covering them with a layer of soil/compost so that the leaves are just buried. Continue to do this at regular intervals until late May when the ridge of soil reaches about 15-20cm high, or the container is more or less full to the top. By this time all risk of frost will have passed. This is done both to protect plants from frosts and to prevent light getting to the potatoes, which would turn them green. It’s also good for keeping weeds down!
- Water potatoes thoroughly 2 times a week during dry spells – this will give the plants a good amount of water that sinks deep into the soil, whilst allowing the top 2-3cm of soil to dry out in between waterings which will help to keep blight at bay.
Problems & Pests:
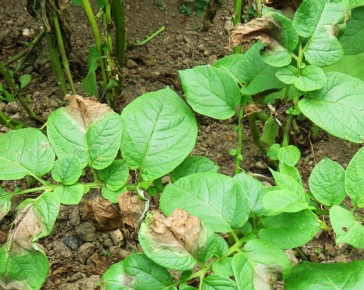
- Blight – Check your potato plants regularly for brown patches on the leaves. This is the first sign that they have blight, a fungal spore-driven disease. If it’s more advanced, you may see brown patches on the stems as well, and the leaves will have started to rot. Remove affected foliage and get rid of it (burning it is best). Then, try removing a few more of the leaves to allow air to circulate better between plants. Keep an eye on things and with any luck you may have got it under control before it got too bad! If the crop is badly affected, cut off all the foliage at the base of the stems. You can leave the potato tubers in the ground for two weeks to let the potato skins harden and then dig them up.
- Slugs – potatoes are often affected by slug damage that happens underground where we cannot see it, even though the foliage looks beautifully healthy. If you do have a lot of slugs in your garden it is worth protecting potatoes with beer traps etc, and try to let the soil dry out between waterings.
- Scab – This bacteria-driven disease causes “scabby” rough patches on the skin of potato tubers and often occurs in hot, dry summers. It can be avoided by watering regularly and thoroughly. It’s not a major problem and you can scrape or peel the tubers before cooking to enjoy your crop anyway.
- Potatoes fall apart when cooked – this is a sign that they have not had enough water during the growing season.
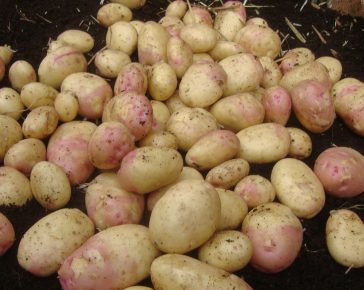
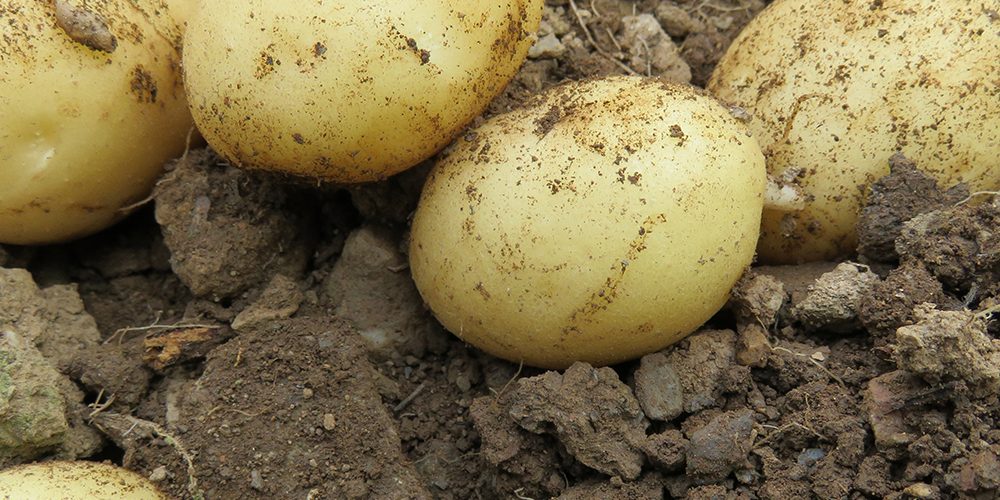
Harvesting/Storing:
- Earlies – normally new potatoes, this is the group of potatoes that reach maturity fastest, usually 10-12 weeks. They are ready to harvest when the flowers open. They’ll happily sit in the ground for 3-4 weeks after that if you cut the foliage off. They should be cooked as soon as possible after being harvested.
- Maincrop – these are bigger potatoes that are generally of the floury texture – good for roasting, mashing & baking. They are ready to harvest once the foliage starts to turn yellow towards the end of the season. You can harvest them or cut the foliage back and leave in the ground for several weeks (not advisable if it’s damp and there are lots of slugs in your garden!) They take around 20 weeks to grow and once harvested can be stored in a hessian sack in a cool, dark place over the winter.