If you are planning to start a veg patch in your garden then you may find a few of these pointers are helpful. We cover a few things, like site choice, raised beds, access, paths etc.
Step 1 – Don’t Panic!
It can often be a little overwhelming to start a brand new veg patch completely from scratch, but it needn’t be. If you approach it step-by-step it can be surprisingly easy, and incredibly rewarding. Use this cold, wet time of year to read around a bit and decide how big a plot you want to start with. We would really recommend looking into No-Dig Growing as a starting point, as this is very simple and straightforward. And we would also recommend starting out with just a couple of small raised beds (or equivalent) and adding to your plot as time goes on.
Step 2 – Decide where to situate your new veg patch
You want to choose the part of your garden that gets the most sunshine hours, preferably in a nice sheltered spot out of the wind. A south-facing garden is ideal, but don’t worry if you don’t have this luxury. Just choose the part that gets the most sun and then choose plants to suit your plot – partial shade can offer great growing conditions for lettuces and salad leaves, for example. If you’re growing on a slope, we’d recommend terracing using raised beds if you can.
Step 3 – Decide what you will be growing in – pots/beds/traditional plot
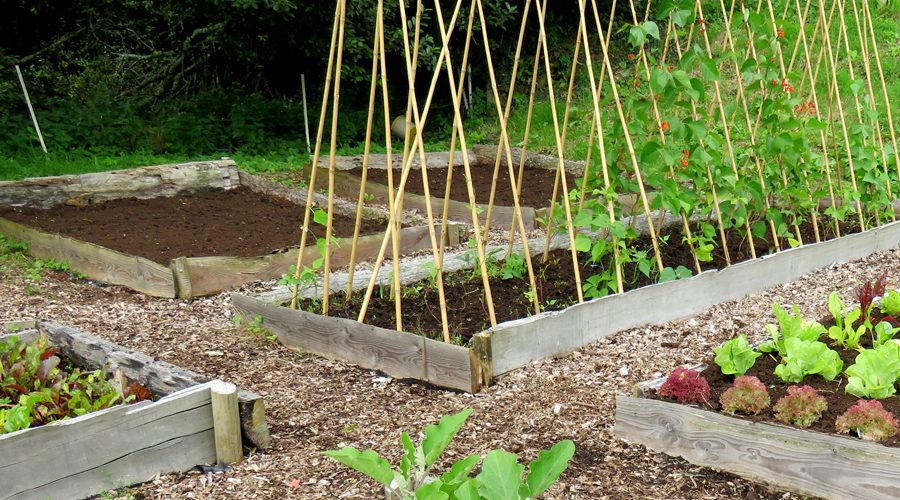
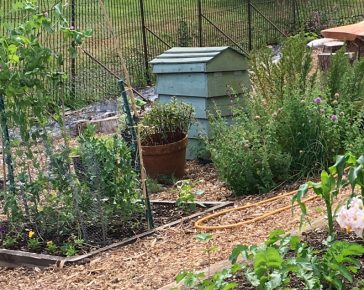
This will largely be dictated by your garden – if you have a patio then pots make sense, or you could go for a wooden planter or trug. If you have space for a raised bed (or several!) then this is ideal, or you could simply have a traditional single square(ish) patch of soil that you fill with rows and rows of veg, leaving just enough space for you to walk in between rows to be able to harvest crops.
Step 4 – Measure out your space & layout the garden
If you’re going to build raised beds or dig a bed into the ground, you want to measure out your space first. As a general rule of thumb, 4 foot is the ideal width for a bed as you can access it from both sides and still reach the middle.
Try to leave enough space along walkways between beds so that you can easily wheel a wheelbarrow.
It’s quite helpful to use string to mark out your beds/walkways or draw it out on a piece of graph paper.
Step 5 – Build your beds
If you’re going for raised beds, then these next few winter weekends are the perfect time to build them. Again, we would really recommend reading around the No Dig Growing as this is a very simple way to get started.
Step 6 – Make your pathways
We highly recommend lining pathways with cardboard and covering them with compost or wood chips. But you might prefer a grass path or stepping stones. It’s up to you. Here’s a useful post about paths to get you started.
Step 7 – Fill your beds
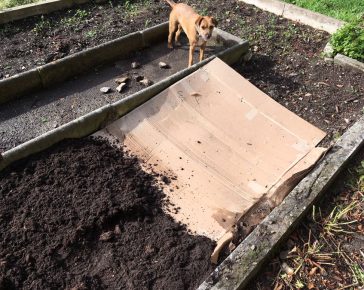
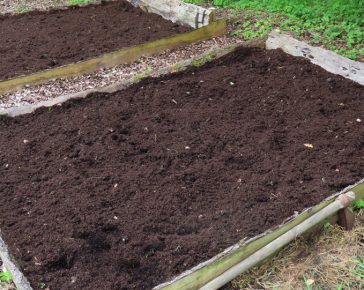
Whether you’re growing in pots or beds you want to get plenty of good quality compost or well-rotted manure in there and dig it over really well. You can always line the base of raised beds with cardboard before filling them to keep weeds at bay.
If you start this process nice and early and do little bits over a few weekends, you’ll find it much less overwhelming and it’s quite a good activity for late winter/early spring. Ideally, you want to have your plot ready for late April/early May so that you can make the most of the growing season, but there is plenty you can plant in summer as well, and even in September/October, so don’t worry too much about timings.


